Hotkey Customization
Overview
OmegaAI allows each user to personalize the keyboard shortcuts used within the Image Viewer. The Hotkey Customization panel surfaces all configurable Image Viewer functions in a single location, enabling users to remap any key binding to a preferred combination. Customisations are saved to the individual user's profile and apply across all organisations the user has access to.
Note: Hotkey customizations are user-specific. Changes made by one user do not affect other users in the same organization. Each user's configuration is independent — others will continue to see system defaults or their own saved changes.
Accessing Hotkey Customization
The Hotkey Customization panel can be accessed from two entry points:
From the User Profile
-
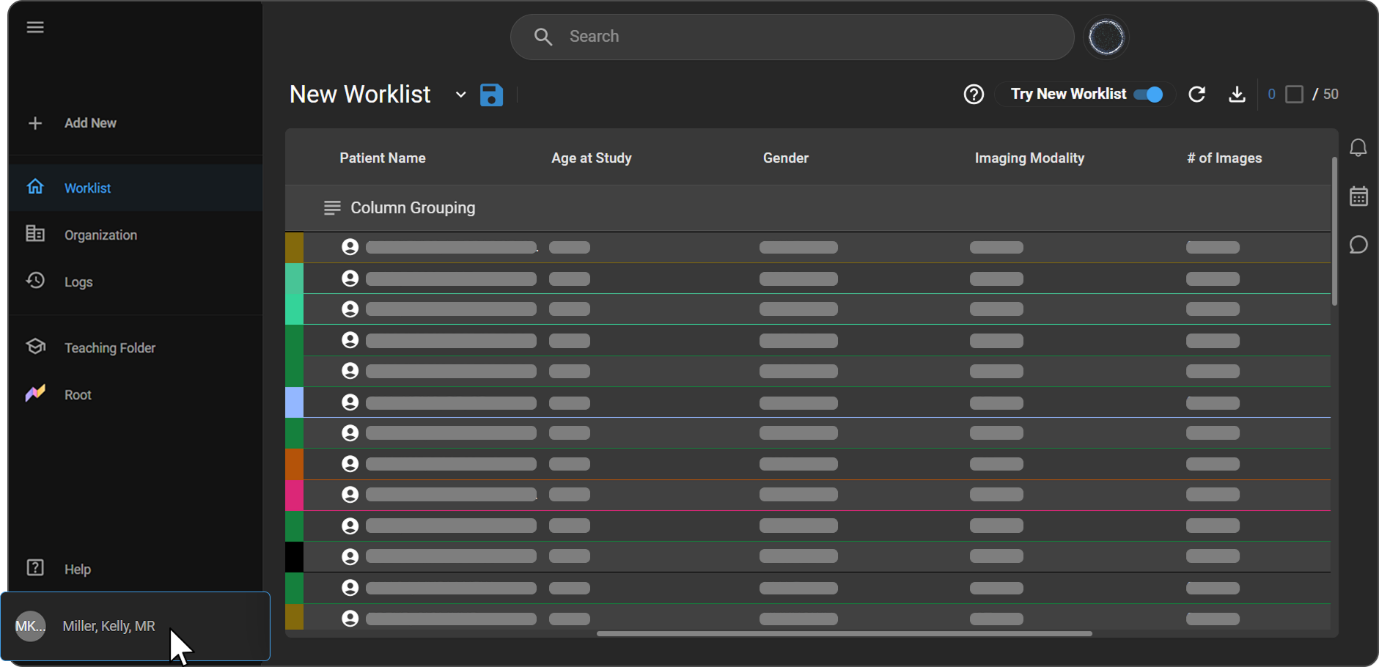
Click the User Profile icon on the left-side navigation bar.
-
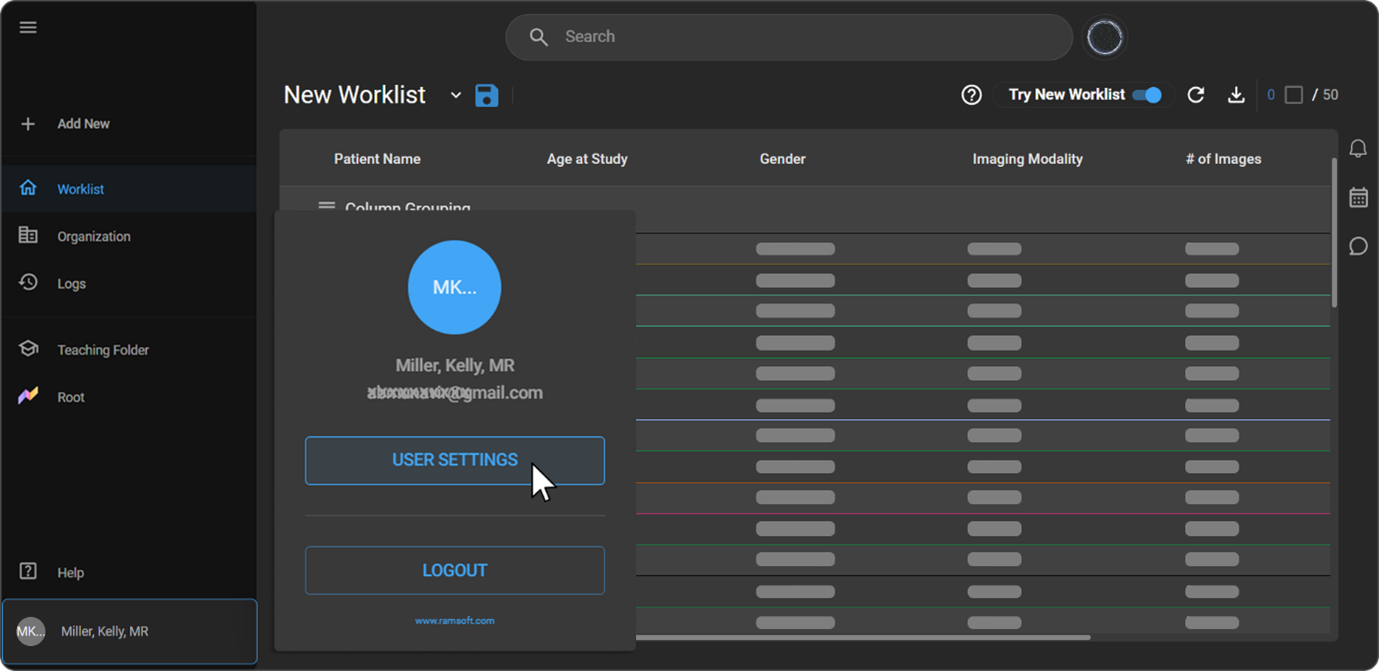
Under User Settings, click User Settings to open the user information page.
-
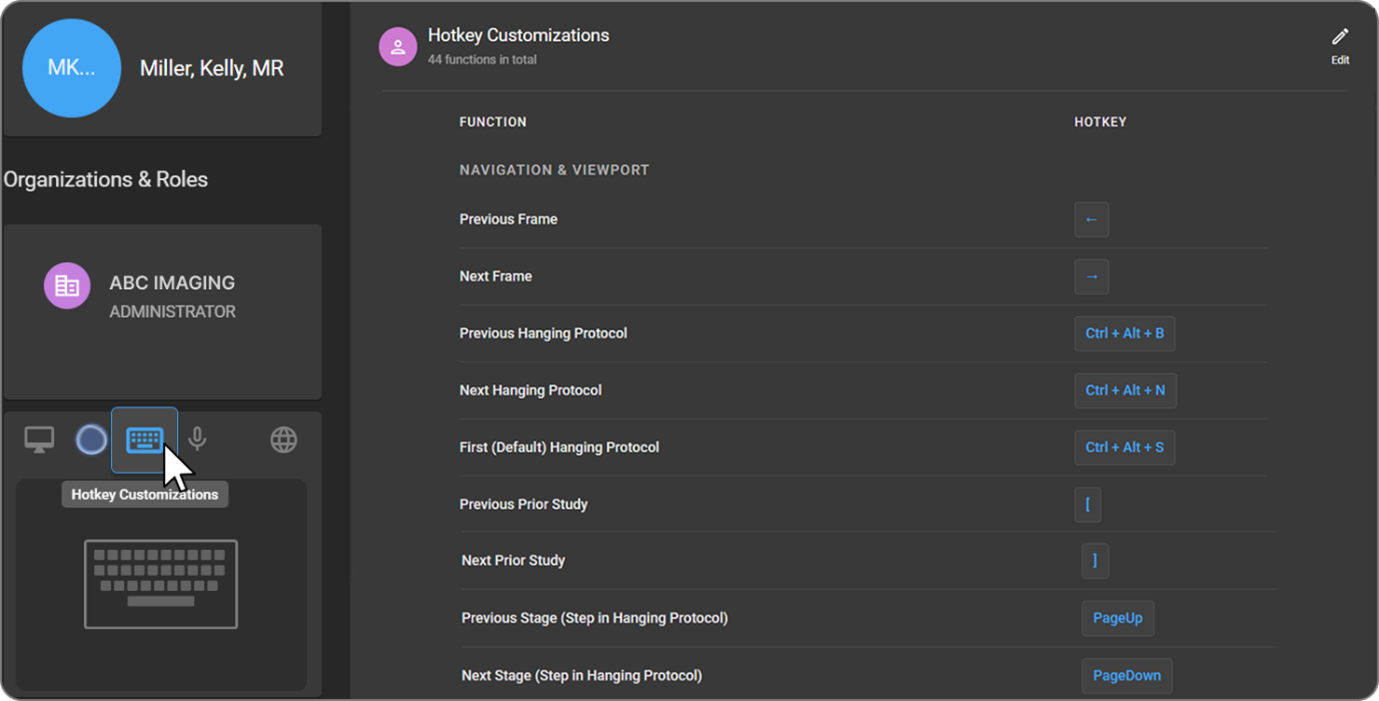
In the User Settings toolbar, click the keyboard icon (located to the left of the microphone icon).
-
The Hotkey Customization panel opens.
From the Image Viewer
-
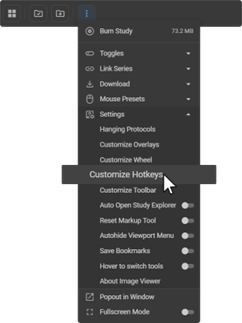
While in the Image Viewer, click the Settings (three-dot menu) icon.
-
Select Customize Hotkeys from the dropdown.
-
The Hotkey Customization panel opens within the User Settings page.
“Back” Button
When the Hotkey Customization panel is accessed from the Image Viewer, a Back button appears at the top-left of the User Settings page header. Clicking it returns the user directly to the Image Viewer. This button is not visible when the page is accessed from the User Profile navigation bar.
Note: The Back button is hidden while the panel is in Edit Mode. It reappears once changes are saved or cancelled.
Understanding the Hotkey Customization Panel
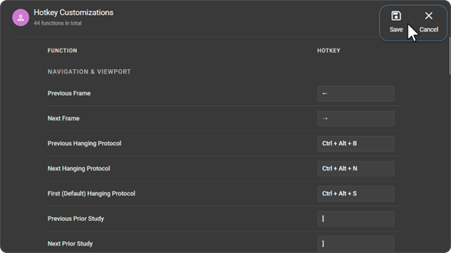
The panel displays a two-column table listing all configurable Image Viewer functions alongside their currently assigned hotkeys. Functions without an assigned key are shown with a dash (—).
The panel operates in two modes:
- View Mode: Displays all functions and their current hotkey assignments. No edits can be made until Edit Mode is activated.
- Edit Mode: Activated by clicking the Edit button (top-right of the panel). In this mode, each hotkey cell becomes an active capture field, allowing users to press a new key combination directly into the field.
Customizing a Hotkey
-
Open the Hotkey Customization panel using either entry point described above.
-
Click the Edit button to switch to Edit Mode.

-
Click on the hotkey cell for the function you want to change.
-
Press the desired key or key combination (e.g., Ctrl+Shift+D). The field captures and displays the input immediately.
-
If the key combination is already assigned to another function, the conflicting row is highlighted in red, and a yellow triangle warning icon (⚠) appears inline in the cell. Resolve the conflict by reassigning or clearing the duplicate before saving.
-
To clear a hotkey binding, press Escape while the cell is focused. The binding for that row is removed.
-
Once all changes are complete, click Save to apply. Hotkeys take effect immediately across all open Image Viewer instances for that user.
-
To discard changes, click Cancel. All unsaved edits are reverted, and the panel returns to View Mode.
Note: Standard mouse buttons (left, right, middle) and the scroll wheel are not valid inputs in the hotkey capture field and will not be accepted.
Resetting to Defaults
To restore all hotkey bindings to system defaults, click the Reset to Defaults button, located next to the Edit button at the top-right of the panel. A confirmation prompt appears before the reset is applied.
Key Behaviors
- Duplicate Detection: If a key combination is already assigned to another function, the conflicting row is highlighted in red, and a yellow triangle warning icon (⚠) appears inline in the conflicting cell. No text label is displayed. The conflict must be resolved — by reassigning or clearing one of the duplicate bindings — before the configuration can be saved.
- Restricted Keys: Certain keys are reserved by the system and cannot be reassigned. Attempting to use a restricted key displays an inline error: "This key is reserved and cannot be reassigned."
- Scope of Changes: Customizations apply per user, not per organization. A user's saved hotkeys are consistent across all organizations they have access to.
- Immediate Effect: Saved changes take effect immediately in all open Image Viewer sessions without requiring a page refresh.
Default Hotkey Reference
The following table lists all 44 configurable functions and their system default hotkeys, organized by category. All functions are customizable.
Navigation & Viewport
| Function | Default Hotkey |
|---|---|
| Previous Frame | Arrow Left |
| Next Frame | Arrow Right |
| Previous Hanging Protocol | Ctrl + Alt + B |
| Next Hanging Protocol | Ctrl + Alt + N |
| First (Default) Hanging Protocol | Ctrl + Alt + S |
| Previous Prior Study | [ |
| Next Prior Study | ] |
| Previous Stage (Step in Hanging Protocol) | Page Up |
| Next Stage (Step in Hanging Protocol) | Page Down |
Global Actions
| Function | Default Hotkey |
|---|---|
| Delete Selected Measurement | Delete |
| Undo Viewport History | Ctrl + Z |
| Reset Viewport History | Ctrl + Shift + Z |
| Unlink Series | U |
| Plane Series Linking | Ctrl + L |
| Manual Series Linking | L |
Adjustment Tools
| Function | Default Hotkey |
|---|---|
| Pan | T |
| Window Level | W |
| Stack Scroll | S |
| Zoom | Z |
| Magnify | M |
| Flip Vertically | F |
| Flip Horizontally | H |
| Invert | | |
| Crosshairs (MPR/Fusion) | J |
| Quad Zoom Tool | K |
| Shutter Rectangle | F6 |
| Free Rotate | — |
| Crosshair Pointer | — |
| Clamped Window Level | — |
Markup & Measurement Tools
| Function | Default Hotkey |
|---|---|
| Length | D |
| Angle | A |
| Cobb Angle | Ctrl + A |
| Cardiothoracic (CTR) | ; |
| Annotate (Arrow) | Numpad / |
| Probe | Q |
| Drag Probe | X |
| Rectangle ROI | G |
| Elliptical ROI | E |
| Bidirectional | B |
| Freehand ROI | — |
| Plumb Line | — |
| Spine Labelling | — |
Additional Tools
| Function | Default Hotkey |
|---|---|
| Fusion | Shift + F |
| Cine | — |
| MPR | — |
| Create Key Image | — |
| Copy to Clipboard | — |
| Print Current Frame | P |
| Download Study/Image | — |
| Burn Study | — |
| Toggle Scout Lines | O |
| Toggle Annotations | I |
| Start Cine Playback | C |
| Open Document Viewer | R |
| Rotate Viewport CCW | , |
| Rotate Viewport CW | . |
Note: Functions marked with — do not have a default hotkey assigned and can be configured as needed.