Document Explorer
Overview
The Document Explorer is an essential component of the OmegaAI Document Viewer, primarily located in the left panel. This tool provides a structured and detailed view of various studies associated with selected patients from the work list, enhancing the management and accessibility of medical imaging documents.

Layout and Functionality
-
Patient Details:
- At the top of the Document Explorer, patient-specific details are displayed. These details include patient identifiers and relevant medical information, providing a quick reference at a glance.
-
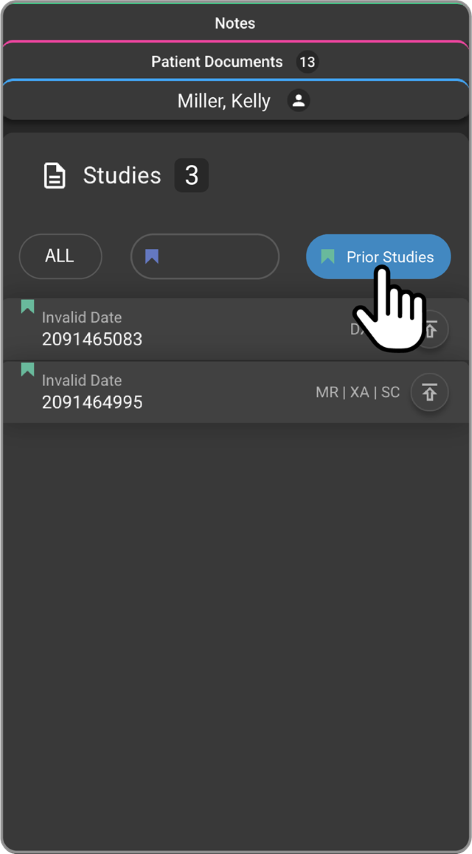
Study Categories:
-
The studies are organized into three distinct sections:
-
Current: Displays the currently selected study.
-
Prior: Lists all previous studies related to the patient, facilitating historical data review.
-
All: Combines both current and prior studies for access and comparison.
-
-
-
Report Management:
-
Each study in the Document Explorer includes three types of documents:
-
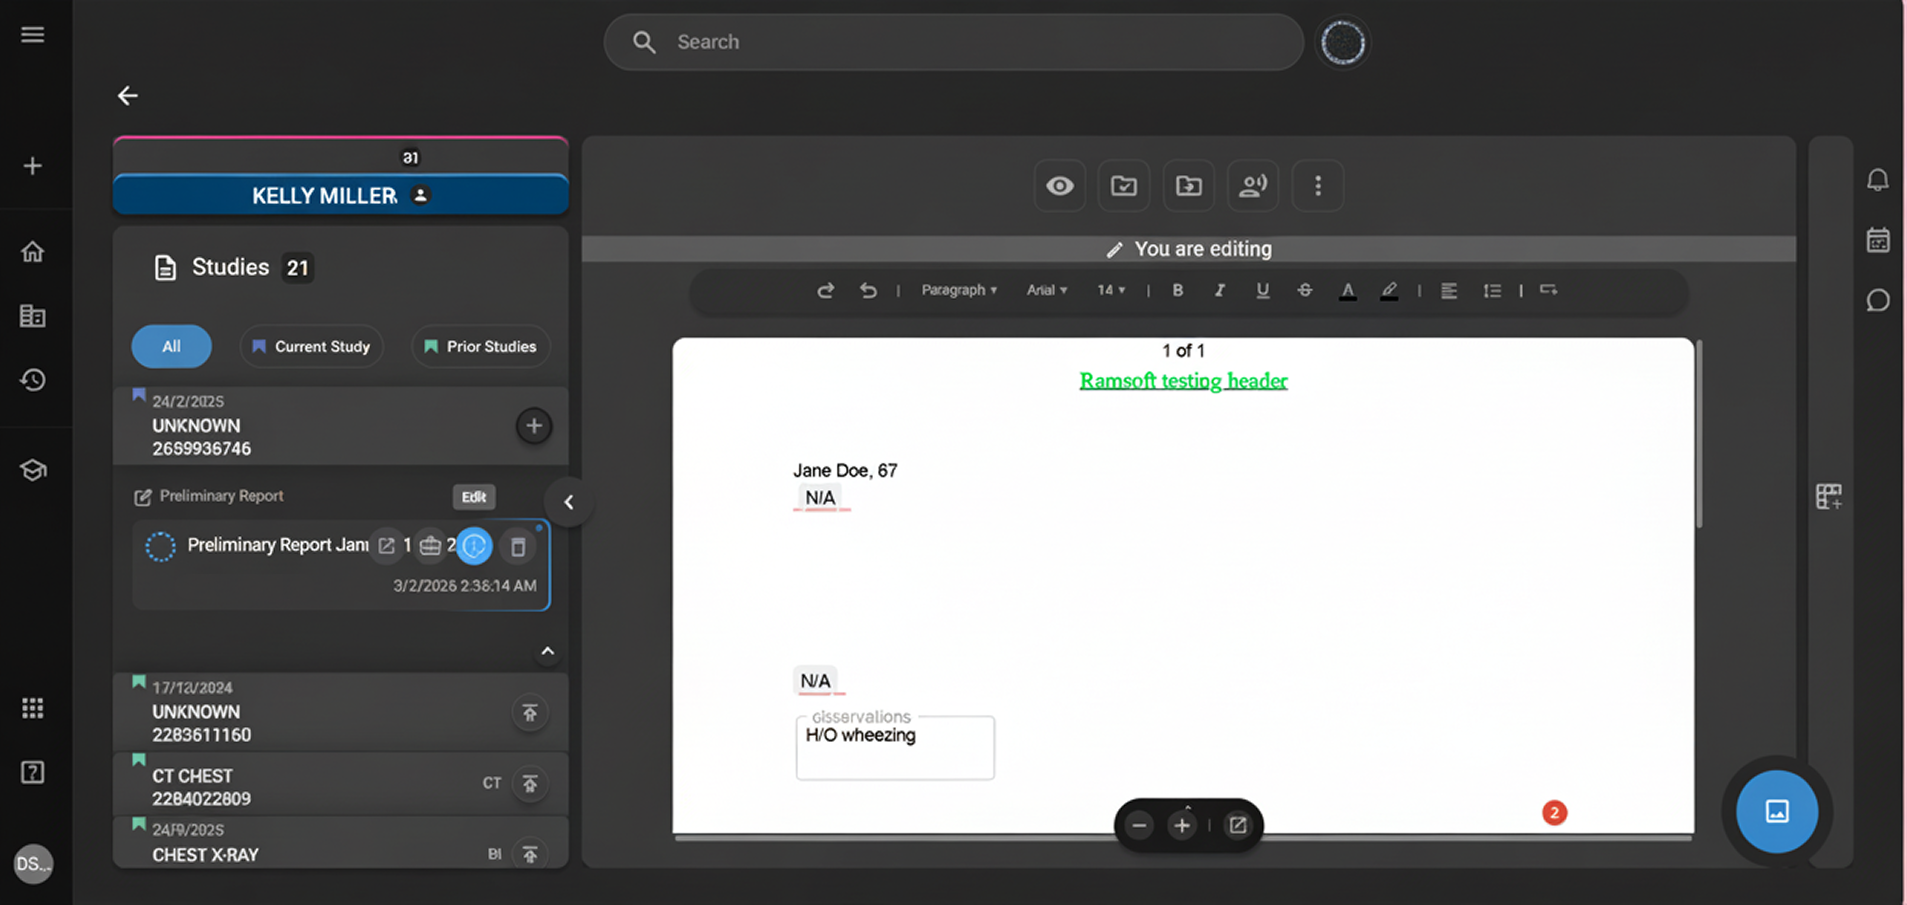
Preliminary Reports:
- Start here to draft new reports. Options for using templates, editing names, and deleting the report are available via icons that appear when you hover over the report entry.
-
Final Reports:
- Once a preliminary report is signed, it becomes a final report. Final reports can be uploaded, renamed, or deleted as necessary. These reside in a dedicated 'Final Report' section within the explorer.
-
Visit documents:
- Essential for maintaining patient records, visit documents can be uploaded for each study. Similar to reports, hovering over these documents provides options for deletion.
-
-
Step-by-Step Guide
-
Accessing Document Explorer:
-
Open OmegaAI and navigate to the Document Viewer. The Document Explorer is immediately accessible on the left panel.

-
-
Viewing Patient Details:
-
Look at the top section of the Document Explorer to see the details of the patient whose studies you are examining.

-
-
Navigating Studies:
- Click on the desired category (Current, Prior, All) to view the respective studies. Each category helps in sorting and accessing the studies based on their relevance and time frame.
-
Managing Reports:
-
To create or draft a preliminary report, select the study and click on the 'Preliminary Report' section. Use the hover-over icons to customize, edit, or delete the report.
-
After finalizing and signing a preliminary report, it will shift to the 'Final Reports' section where further actions like uploading a new version or renaming can be performed.
-
For visit documents, select the appropriate document under the study and use the hover options to manage these records.
-
-
Upload Reports:
-
Click the upload icon to open the file explorer.
-
Select a document to upload.
-
Upload widget will be displayed, Rename the file if needed
-
Choose to upload as a Final Report or Study Document.
-
Click Upload to complete the process
-
-
Pop Out Report:
The pop-out button (open in new window icon) is available on all document cards in the Document Explorer — including final reports, uploaded documents, and patient documents. Click the pop-out icon on any document card to open it in a separate browser window.
- PDF documents open in a lightweight PDF viewer with a toolbar that includes zoom in, zoom out, zoom level selector, download, and print.
- Diagnostic reports open in the full Document Viewer.
- The pop-out option is not available for Blume forms.
Note: Download is available for final diagnostic reports and all non-report document types. Preliminary (draft) diagnostic reports cannot be downloaded from the pop-out viewer.
Accessing and Using the Patient Chart Module in Document Viewer
Accessing the Patient Chart
Patient chart can be accessed in the left panel inside document viewer.
There will be 3 sections in the chart- Patient information card, Patient documents, & Notes.
Hover or click on any section to expand the section.
-
Viewing Patient Information
-
Patient Name: Displayed prominently at the top of the patient card.
-
Pop out patient details: Clicking on pop out icon opens patient page in a new tab
-

-
Demographic Details: Includes gender, age, and date of birth, displayed below the patient emoji card with icons.
-
BMI Measurement: Displayed with an indicator (normal or abnormal) in a tooltip.

-
Vital Signs: Includes height, weight, heart rate, and blood pressure, listed below the BMI measurement.

-
Patient Document Access Interface
-
View and manage patient documents (e.g., reg forms, treatment plans, medical history etc.).
-
Click on a particular section to filter desired document type (All, uploaded documents & registration forms).
-
Click on any document or form to view it in the viewport or drag and drop to the desired viewport.
-
Click on upload icon to upload any document from the file explorer.


-
Creating more than one report
When the study comprises of an existing final report or a preliminary report then the user tries to create an additional report, an alert with following message appears.

Report already exists
Do you still want to proceed with creating another report?
Click on Cancel to discard and Proceed to continue.
Display of Linked Patient Record on Document Viewer
-
Open the Document Viewer:
- Launch Omega AI Document Viewer.

-
View Linked Patient Studies:
- Linked patient studies will appear as prior studies in Document Viewer.

-
Prior studies will include all associated reports.

-
Identify Linked Patient Information:
-
When a report is displayed in the viewport, the specific linked patients name will be shown for clear identification.

-
-
Navigate and Review:
- Users can switch between the primary patient record and linked patient records for efficient study comparison.

Report Access Indicator
Overview
The Report Editing Lock and Alert System is a new OmegaAI feature designed to prevent simultaneous editing of medical reports. It ensures data integrity by locking reports when a user is editing them and notifying others of the editing status. This feature integrates seamlessly with existing OmegaAI tools, streamlining workflows and enhancing collaboration across user roles, particularly for radiologists, technologists, and administrators.
-
Start Editing a Report:
- A user opens a study in Document viewer.

-
If any report in the editable form is opened, the report and study will be automatically locked.

-
View Editing Indicator:
-
The active editors name is displayed as an indicator, notifying other users that the report is in use.
-
Also, user will see the text You are editing.
-

-
Attempt to Edit a Locked Report:
- Another user will not be able to edit the same report, they will be seeing the lock symbol without any editing tools for the report.
-
Automatic Unlock:
- If the active editor remains inactive for 15 minutes, the report is automatically unlocked.

- If user exit the study or close the browser, the report is automatically unlocked.
-
Take Over Editing:
- If the report is unlocked due to inactivity, another user can take over editing by clicking on the button.

Renaming the Reports in Document Viewer
The Document Viewer allows report titles to be renamed from the system defaults to user-defined names, with behavior varying based on the report stage.
Default Behavior
- Reports are created with default titles:
- Preliminary Report
- Final Report
- If no changes are made, these default names are retained automatically.
Preliminary Report Renaming
- Users can rename a Preliminary Report to a custom title at any time.
- The custom name can be edited freely while the report remains in the preliminary state.
- When the report is published, the custom name is preserved and carried forward to the final version.
Final Report Renaming
- Once a report reaches the Final State, its title becomes locked.
- Renaming is not permitted unless the user initiates the Amendment workflow.
- During amendment, the report title can be updated to a new custom name.
- The amended report retains this updated custom title.
Navigation: Renaming Reports in Document Viewer
Reports can be renamed within the Document Viewer (DV). The Document Viewer can be accessed from the Worklist, or the report can be edited directly if the study is already open in the Document Viewer.
Follow these steps to rename reports:
-
From the Worklist, select the study that contains the report you want to rename.
-
Right-click on the selected study to open the available options menu.
-
From the menu, select Document Viewer to open the study documents.
-
In the Document Viewer, locate the left panel displaying patient documents.
-
Scroll down to view the list of available reports.
Renaming a Preliminary Report
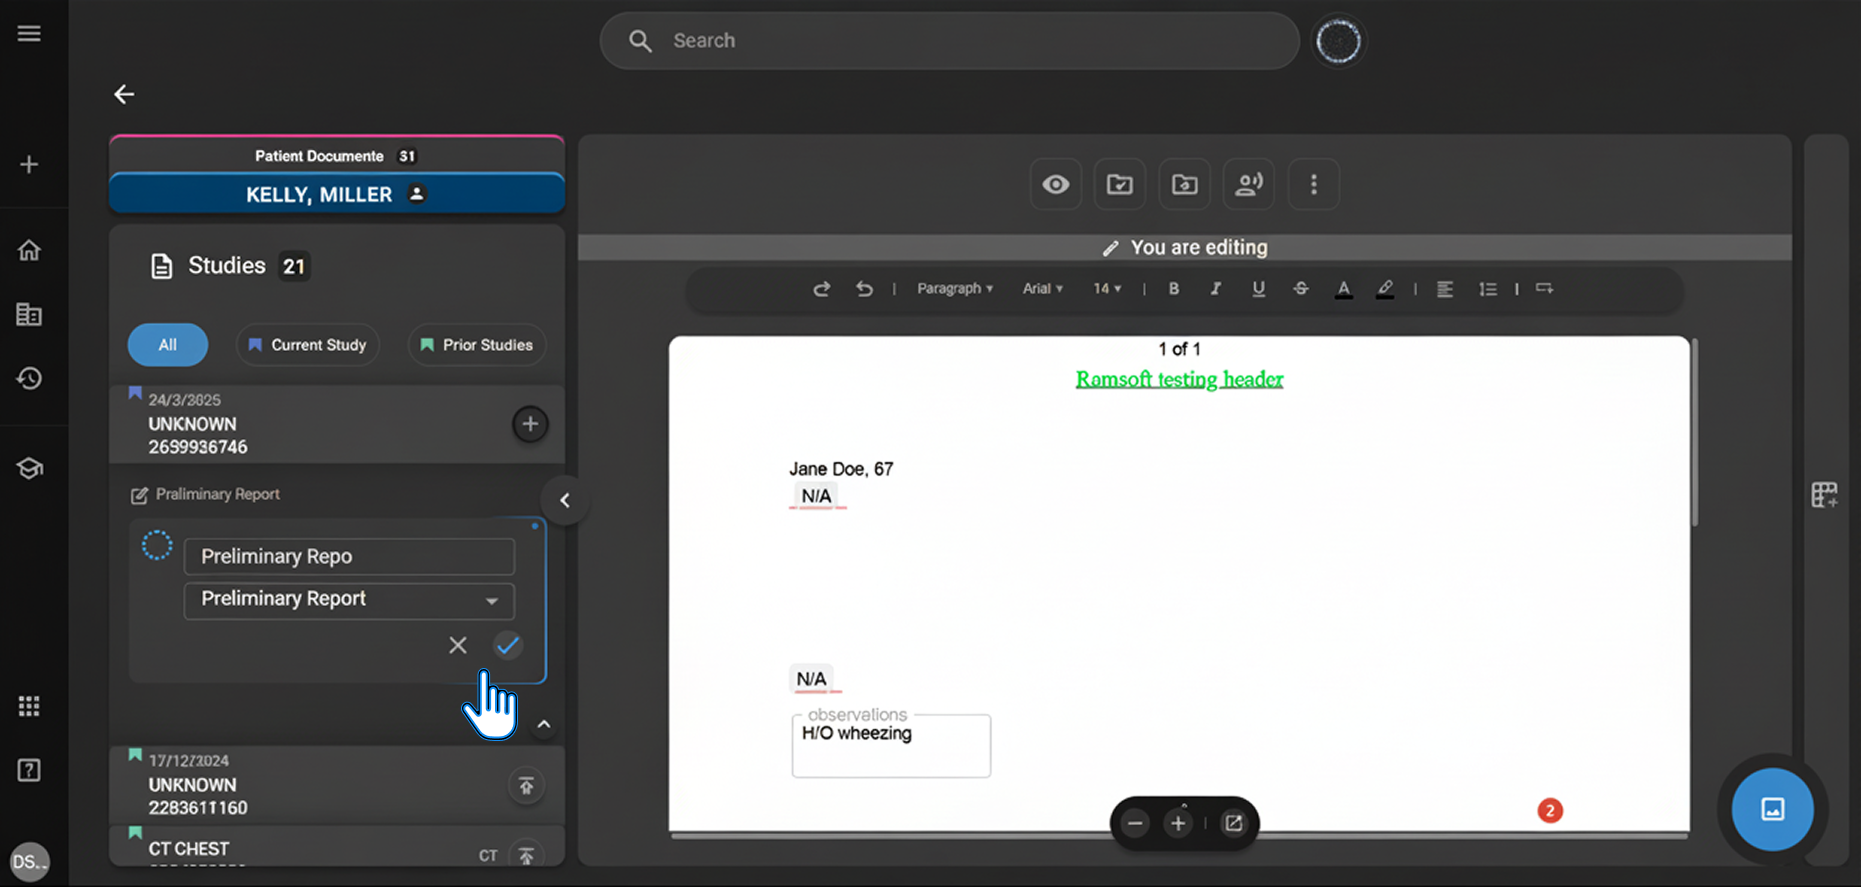
-
Hover the cursor over the desired preliminary report.
-
A set of action icons will appear.
-
Click the Edit icon to enable renaming.
-
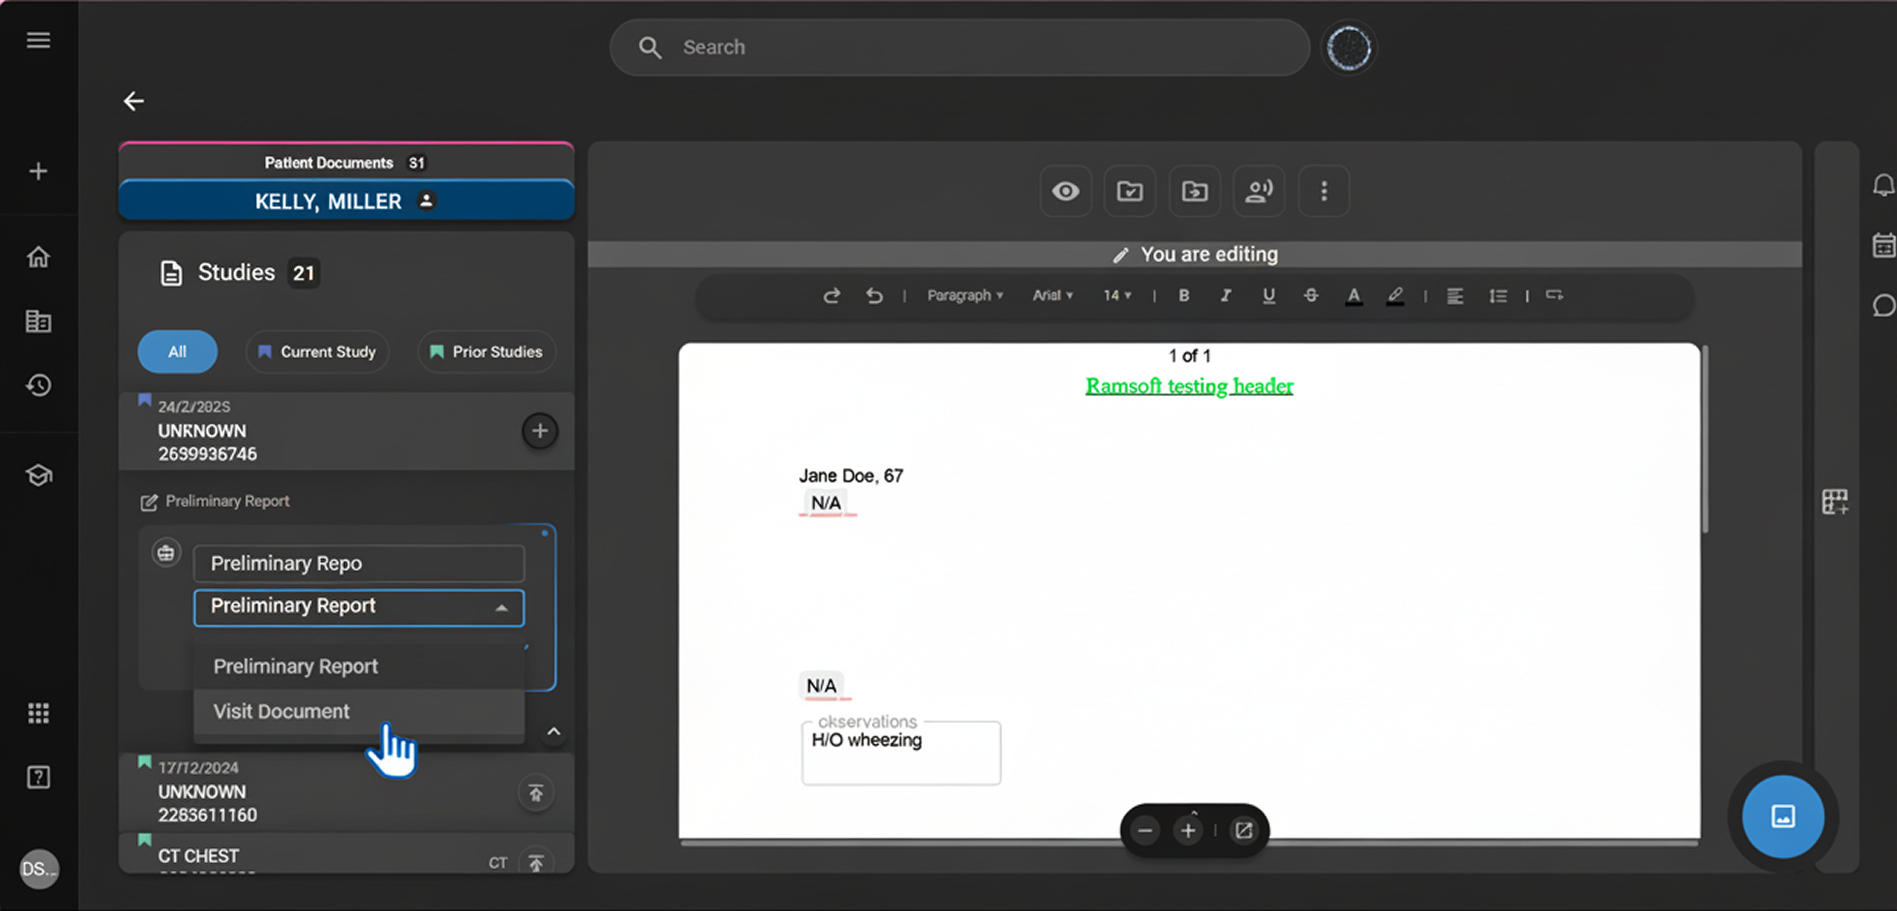
Edit the report name by either:
- Clicking directly in the name field and typing a custom name, or
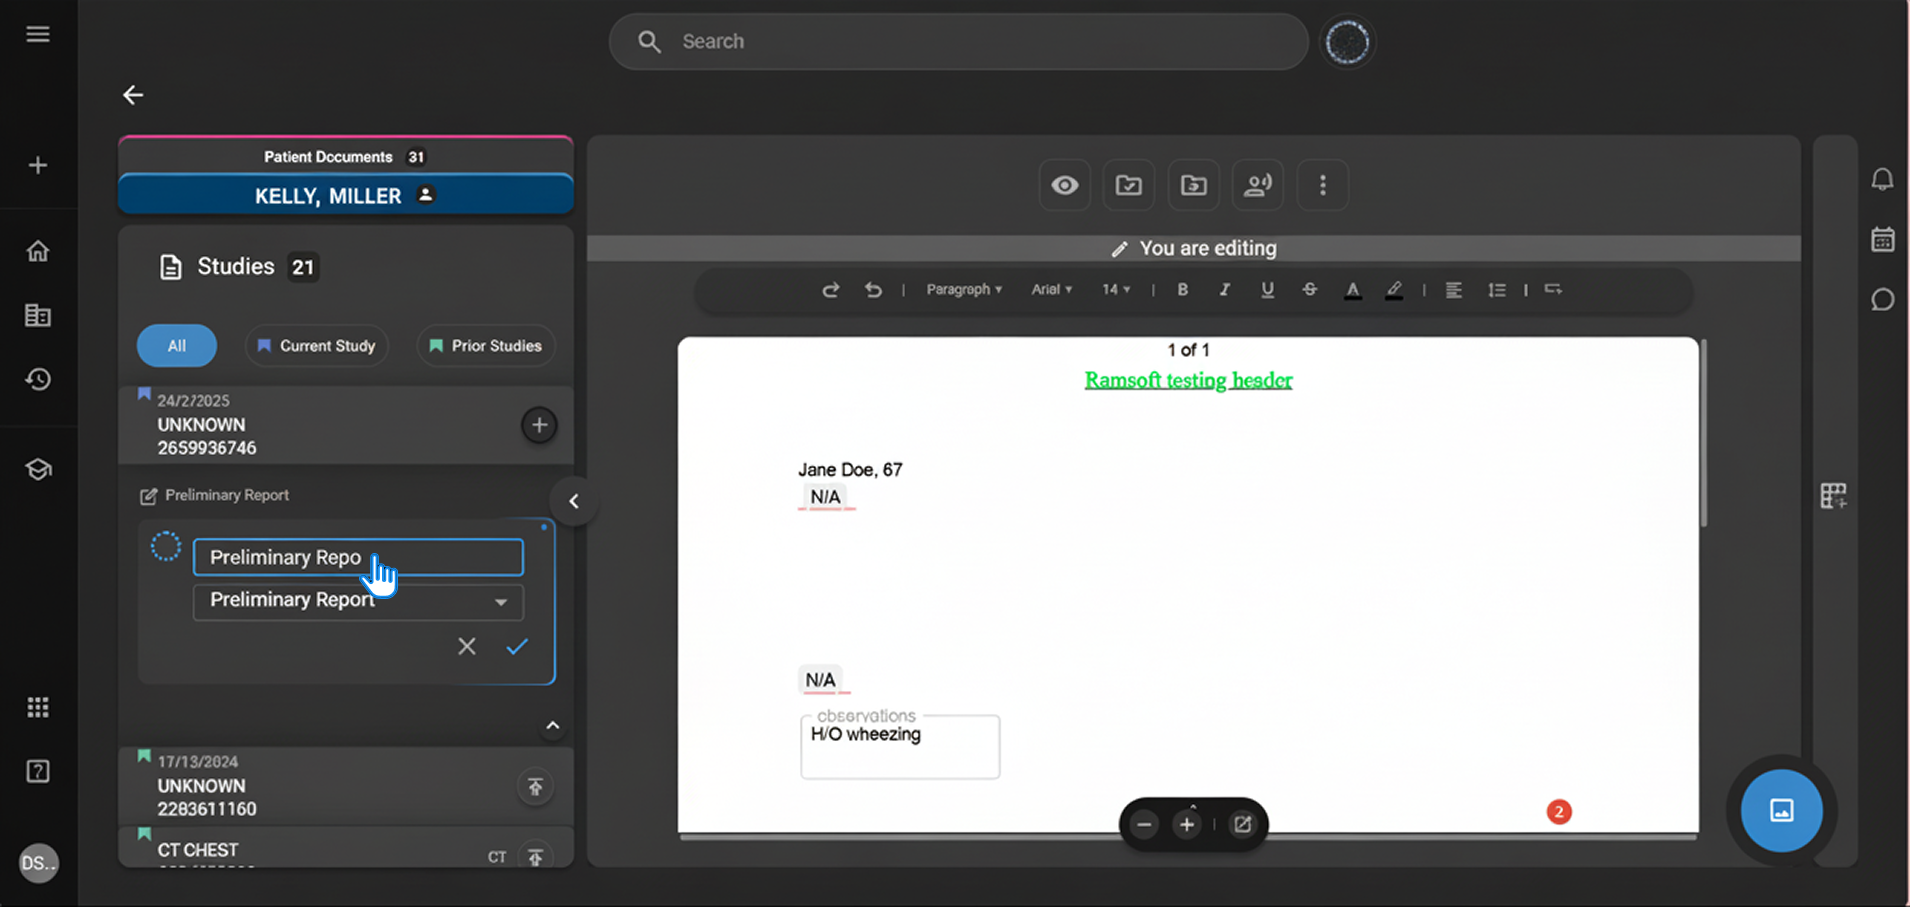
- Selecting a name from the available dropdown options (for example, Preliminary Report or Visit Report).
-
Click the ✓ (tick) icon to save the changes.
-
Click the ✕ (cross) icon to cancel without saving.
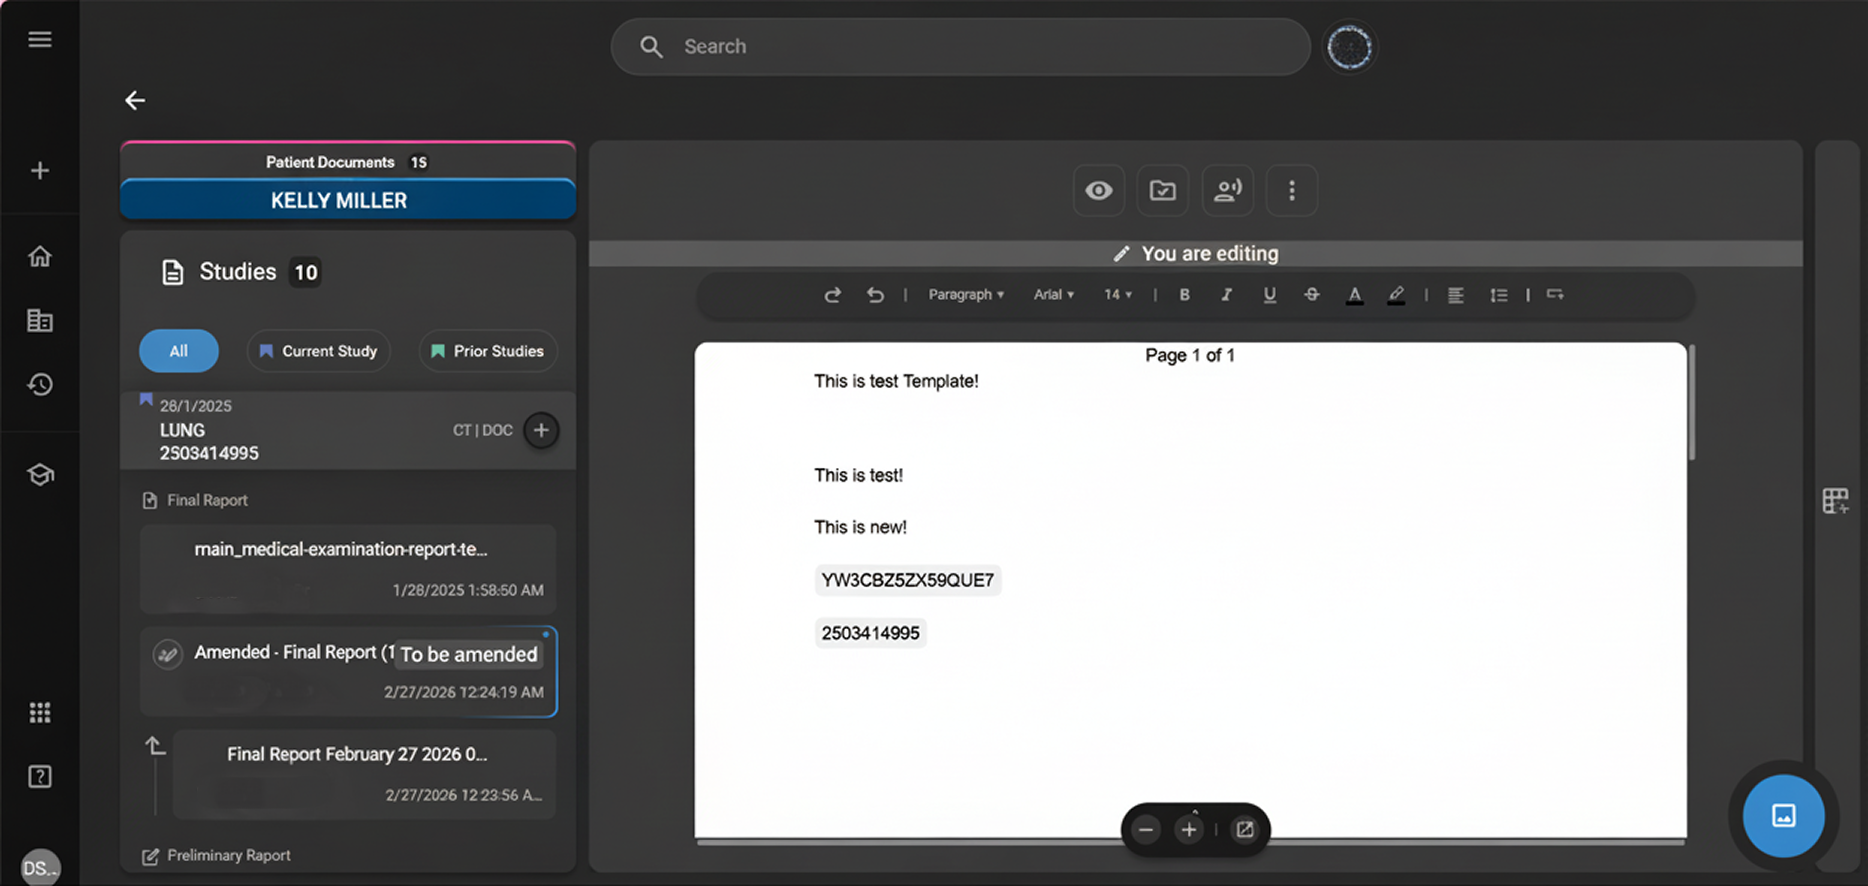
Renaming a Final Report
-
The edit option is not available once a report reaches the Final State.
-
To rename a final report, the report must first be placed into the Amendment stage of the workflow.
-
During amendment, the Edit icon becomes available again.
-
The report name can then be edited directly in the name field.
-
Dropdown options are not available during amendment; only manual renaming is supported.
-
Save or cancel using the tick or cross icons as needed.