Share a Report
Sharing a report lets your team work from the same insights. You can share a report with specific users, with everyone in an organization, or with a link. You decide whether people can only view the report or also edit it.
This article explains each way to share, and how to change or remove someone's access.
Before you begin
-
Root access for recipients: Everyone you share with needs access to Root to open the report. For details, see Get Started with Root Analytics.
-
Recipient permissions: To view a shared report, recipients need the View Regular Reports permission. To edit it, they also need the Create/Edit Reports permission. See User access control and roles.
-
Custom reports only: You can share Custom reports you own. Premium reports are already available to everyone whose role includes the View Premium Reports permission, so they don't have a Share icon. To share similar data, build a Custom report. See Create a Report.
Open the Share panel
The Share panel is where you control who can see a report and how they access it. You can open it from two places:
-
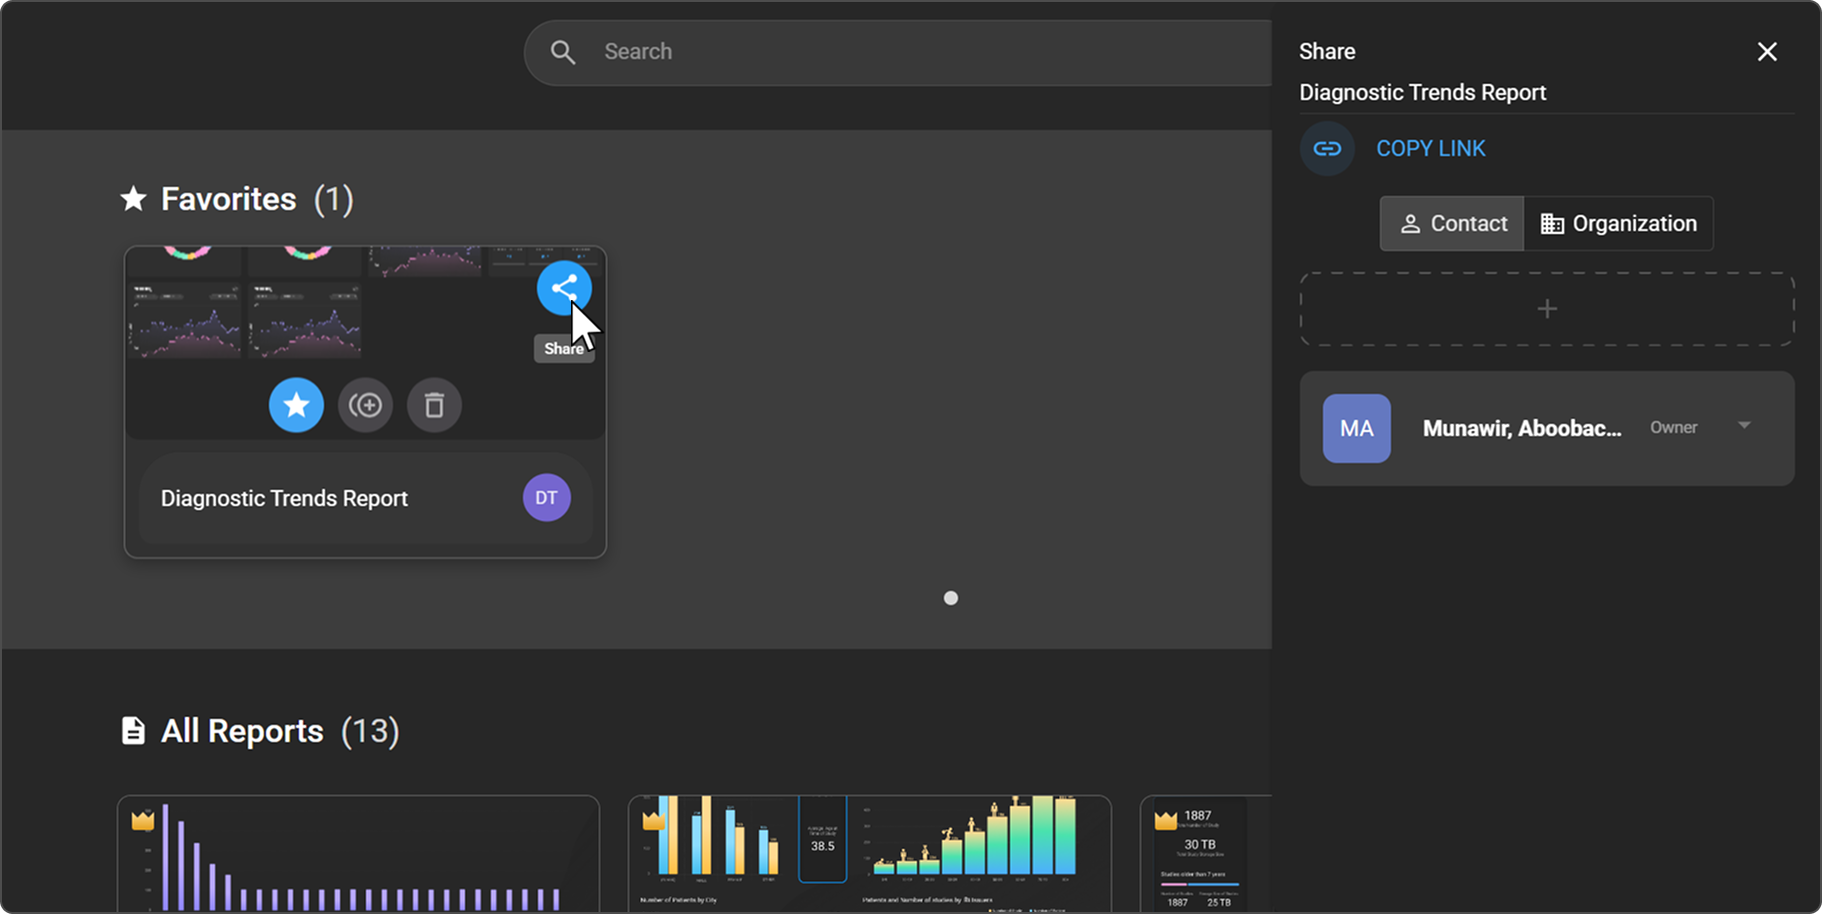
On the Root homepage: Hover over the report card, and click the blue Share icon at the top right of the card.
-
In an open report: Click the share icon at the top right of the report, next to the mode list.
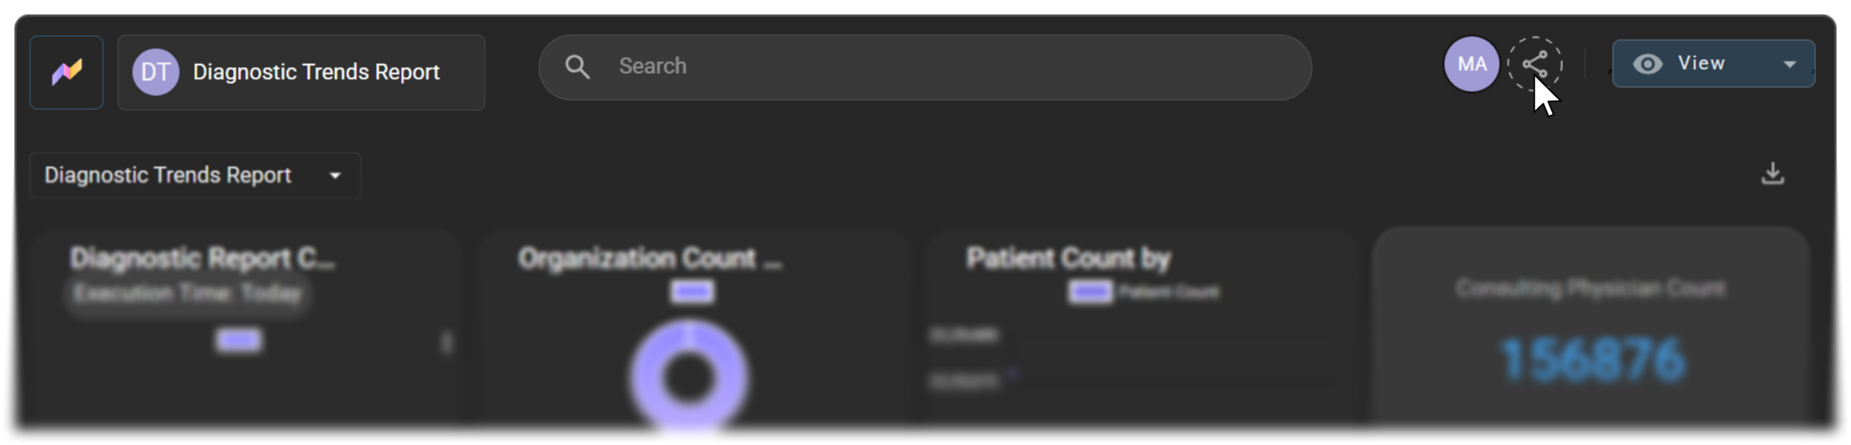
Tip: In an open report, the initials next to the share icon show who the report is shared with.
The Share panel opens on the right side of the screen. It shows:
- The report name: Below the Share heading, so you know which report you're sharing.
- COPY LINK: Copies a link to the report.
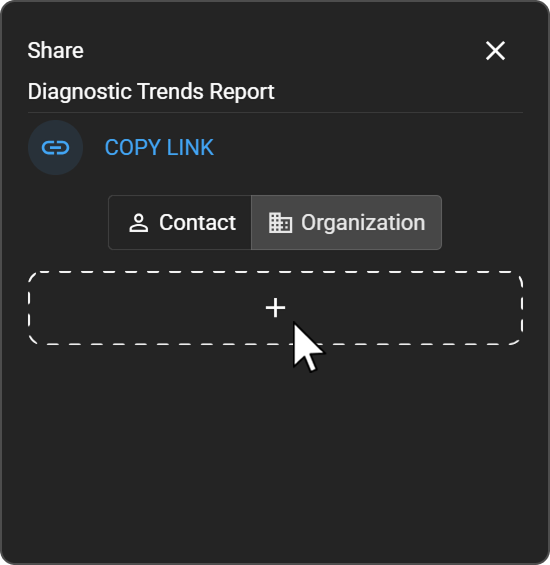
- Contact and Organization: Switch between the users and the organizations the report is shared with.
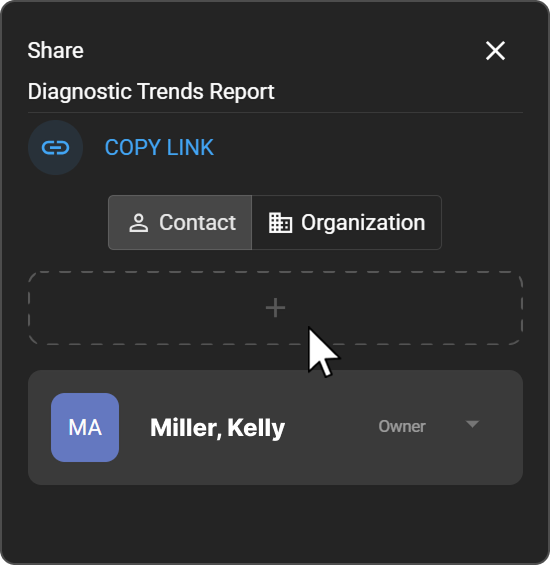
- The + box: Adds a new user or organization.
- The access list: Everyone who has access to the report, with their access level. The report's creator is listed as Owner.
Share with specific users
|
|
|
|
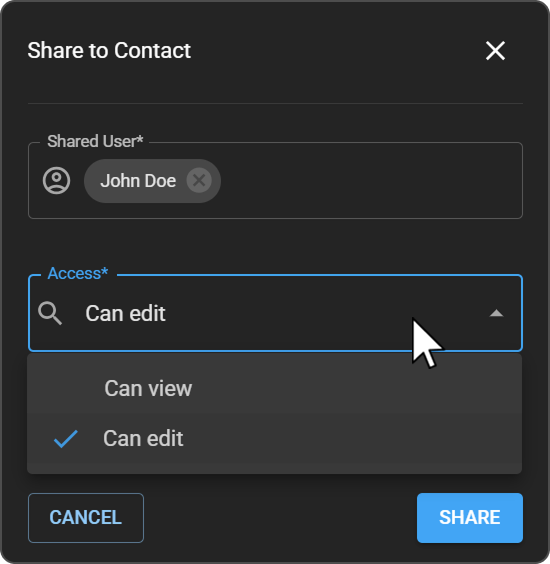
Expected result: The users are added to the access list, with the access level you chose.
The users also get an email letting them know you've shared the report with them.
Share with an entire organization
|
|
|
|
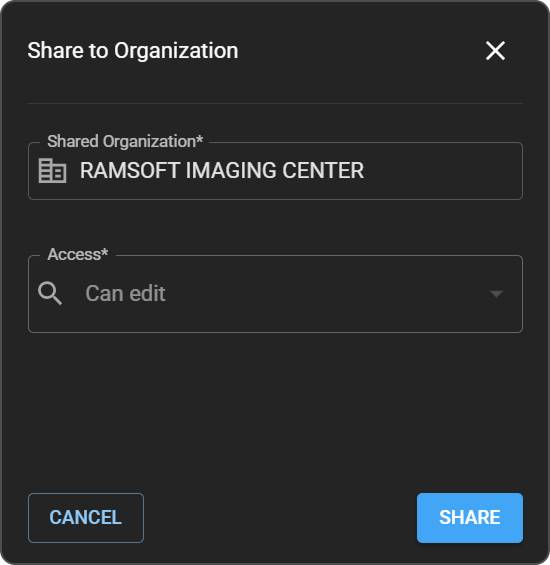
Expected result: The organization is added to the access list. All users in that organization can view the report.
Note: Organizations always get Can view access. You can't give an organization edit access.
Share with a link
|
|
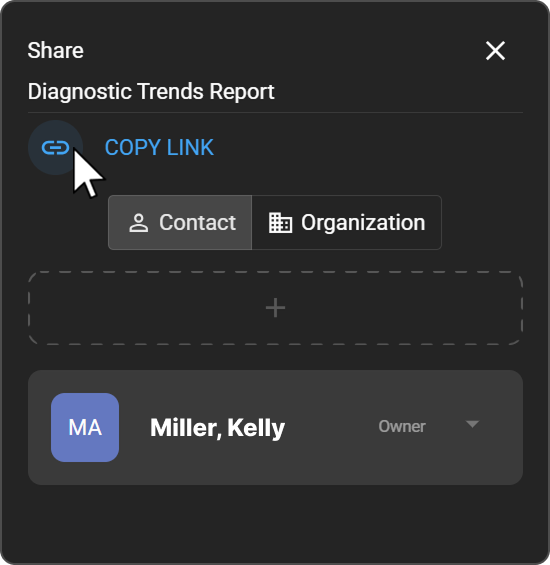
Expected result: Anyone who opens the link can view the report, but can't edit it.
Note: Link sharing works only for users in your organization who have access to Root.
Change or remove access
-
Open the Share panel.
-
Click Contact or Organization to see who has access.
-
Make your changes:
- Change a user's access level: Open the list next to the user's name, and select a different access level.
- Remove access: Click and hold the delete icon next to the user or organization.
Expected result: The access list updates to show the new access.
Troubleshooting
- A colleague can't open a report I shared: Make sure your colleague has access to Root. Then check that they're in the access list, or that they're in an organization the report is shared with.
- A colleague can't edit a report I shared: Their role might not include the Create/Edit Reports permission. Or they might have Can view access. Change their access to Can edit. Users who get access through a link or an organization can only view the report.
- I can't find an organization in Shared Organization: Referring Organizations don't appear in this list. Share with individual users instead. To learn about Referring Organizations, see Referring Organization Affiliation Flow.
- Someone has access who shouldn't: Open the Share panel, and remove their access.
Related articles
- Get Started with Root Analytics: Learn the Root homepage and report types.
- Open, Edit, and Organize Your Reports: Edit, export, and delete the reports you share.
- Create a Report: Build a report to share.
- User access control and roles: Give recipients the Root permissions they need.
- Understanding your organization hierarchy: Learn which organizations you can share with.