Study Explorer & Image QC
Overview
The Study Explorer is the primary navigation and quality control panel in the OmegaAI Image Viewer, located on the left side of the screen and collapsed by default. Click the Study Explorer icon (File icon) in the top-left corner to expand the panel.
It allows you to browse patient studies, manage series, and perform QC actions — all from a single panel without leaving the Image Viewer.

Patient Banner
At the top of the Study Explorer, the Patient Banner displays essential demographic and identification details:
|
|
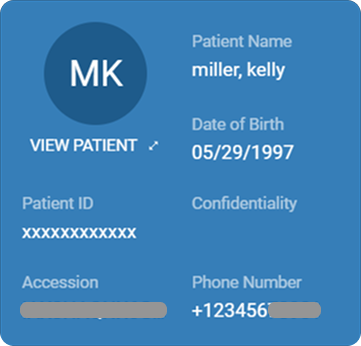
Note: Confidentiality Status and Phone Number visibility depends on your organization configuration. Verify with your administrator if these fields are not visible.
Expanded View
Hover over the Patient Banner to reveal additional patient-related information and contextual details linked to the patient's studies.
To view full clinical details, click the View Patient link in the Patient Tag area of the toolbar. The View Patient panel displays patient name, unique identifier (barcode), date of birth, organization information, height, weight, gender, birth sex, marital status, ethnicity, race, heart rate, and blood pressure.

Study Cards and Filters
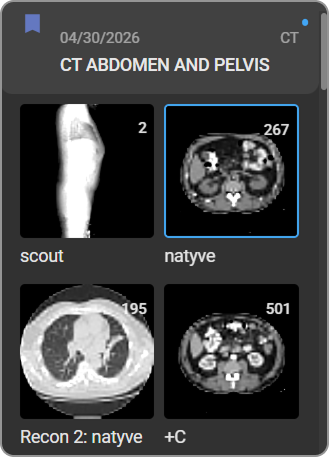
Each patient study is displayed as a study card showing the study date, modality, and a brief description. A blue dot in the top-left corner of a study card indicates the study currently displayed in the viewer.
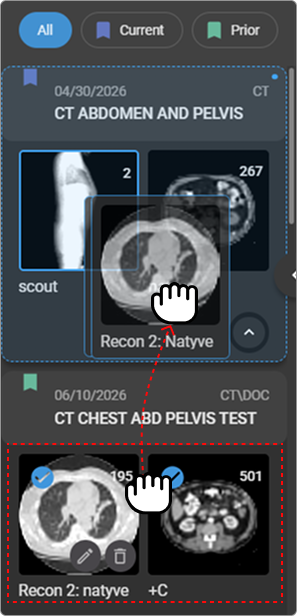
Use the filters above the study list to control which studies are shown:
|
|

Thumbnail Navigation and Series Management
Click a study card to expand it and view its thumbnails. Each card displays thumbnails for series and individual images. For multi-frame images, the thumbnail shows the total frame count. |
|
Hover Actions on Thumbnails
Hover over a series thumbnail to reveal the following actions:
|
|

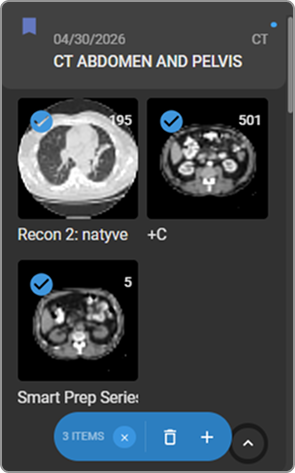
Selecting Multiple Series
Click the circular checkbox on a thumbnail to select one or more series. This opens a bottom action bar with the following options:
|
|
Loading Series into Viewports
You can load a series into a viewport using either of the following methods:
- Drag and Drop — Drag a series thumbnail and drop it onto the desired viewport.
- Double-click — Double-click a thumbnail to load it into the currently active viewport.
When a study is initially loaded, the first viewport is automatically selected by default.

Reparenting Series Between Studies
You can move series from one study to another for the same patient within the Study Explorer:
|
|
For full instructions, see Image Quality Control (QC).
Image Quality Control (QC)
The Study Explorer includes a comprehensive QC module for managing, organizing, and validating medical imaging studies. The following QC actions are available:
- Delete Series — Remove one or more series from a study.
- Rename Series — Edit the name of a series.
- Move Series — Move series between studies for the same patient.
- Create New Study — Create a new study from selected series.
- Merge Studies — Combine multiple studies for the same patient.
- Unmerge Studies — Split a previously merged study back into its original components.
- Delete Studies — Permanently remove a study from the system.
For detailed instructions on all QC actions, see Image Quality Control (QC).
To add images, videos, or documents to a study, see Import Images, Videos & Documents.