Document Review Mode
Overview
Document Review Mode in OmegaAI provides access to the Embedded Document Viewer (EDV) — a unified reporting environment that enables radiologists and physicians to view DICOM images, navigate prior studies, and document findings within a single interface. The EDV panel opens alongside the imaging study, replacing the older standalone document viewer with a modern, fully integrated experience that supports advanced diagnostic workflows and complex reporting needs.
The mode is particularly well suited to single-monitor setups and supports the full reporting lifecycle, from navigating prior documents and creating new reports to uploading external clinical documentation.
To learn more about the full EDV feature set, see Embedded Document Viewer (EDV).
Accessing Document Review Mode
-
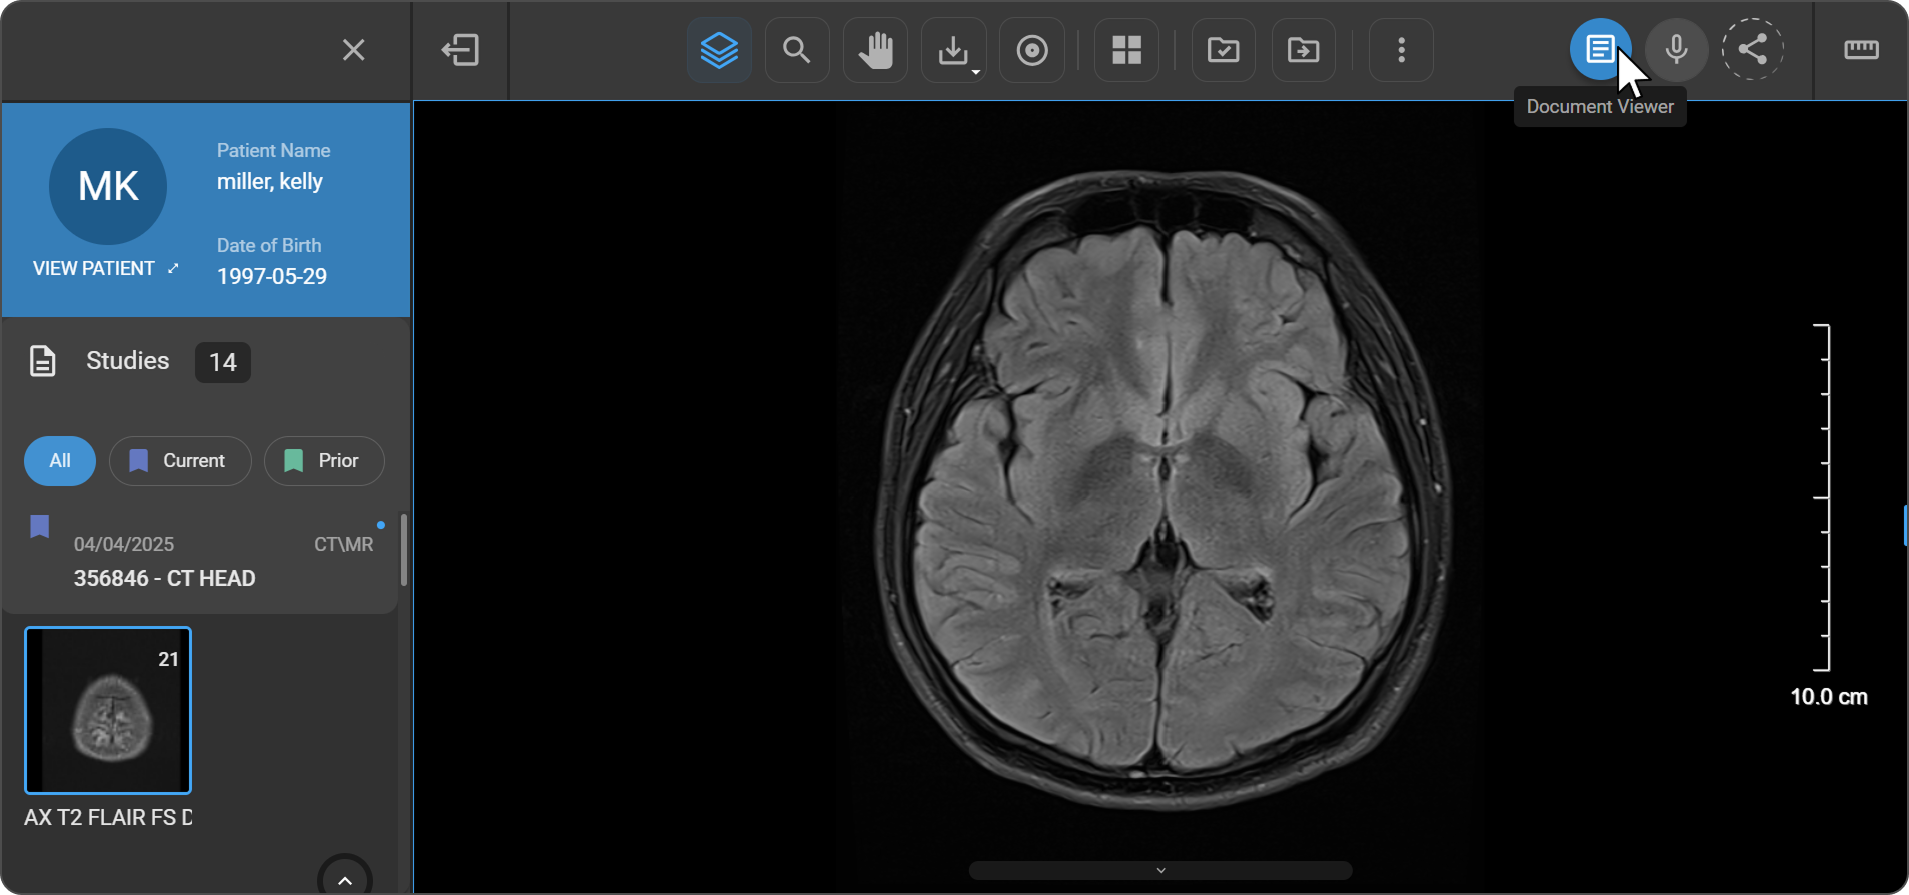
Open a study in the Image Viewer.
-
Click the Document Viewer icon (document symbol) in the top toolbar.
-
The Document Viewer panel opens on the right side of the workspace. The imaging study remains visible for simultaneous reference.
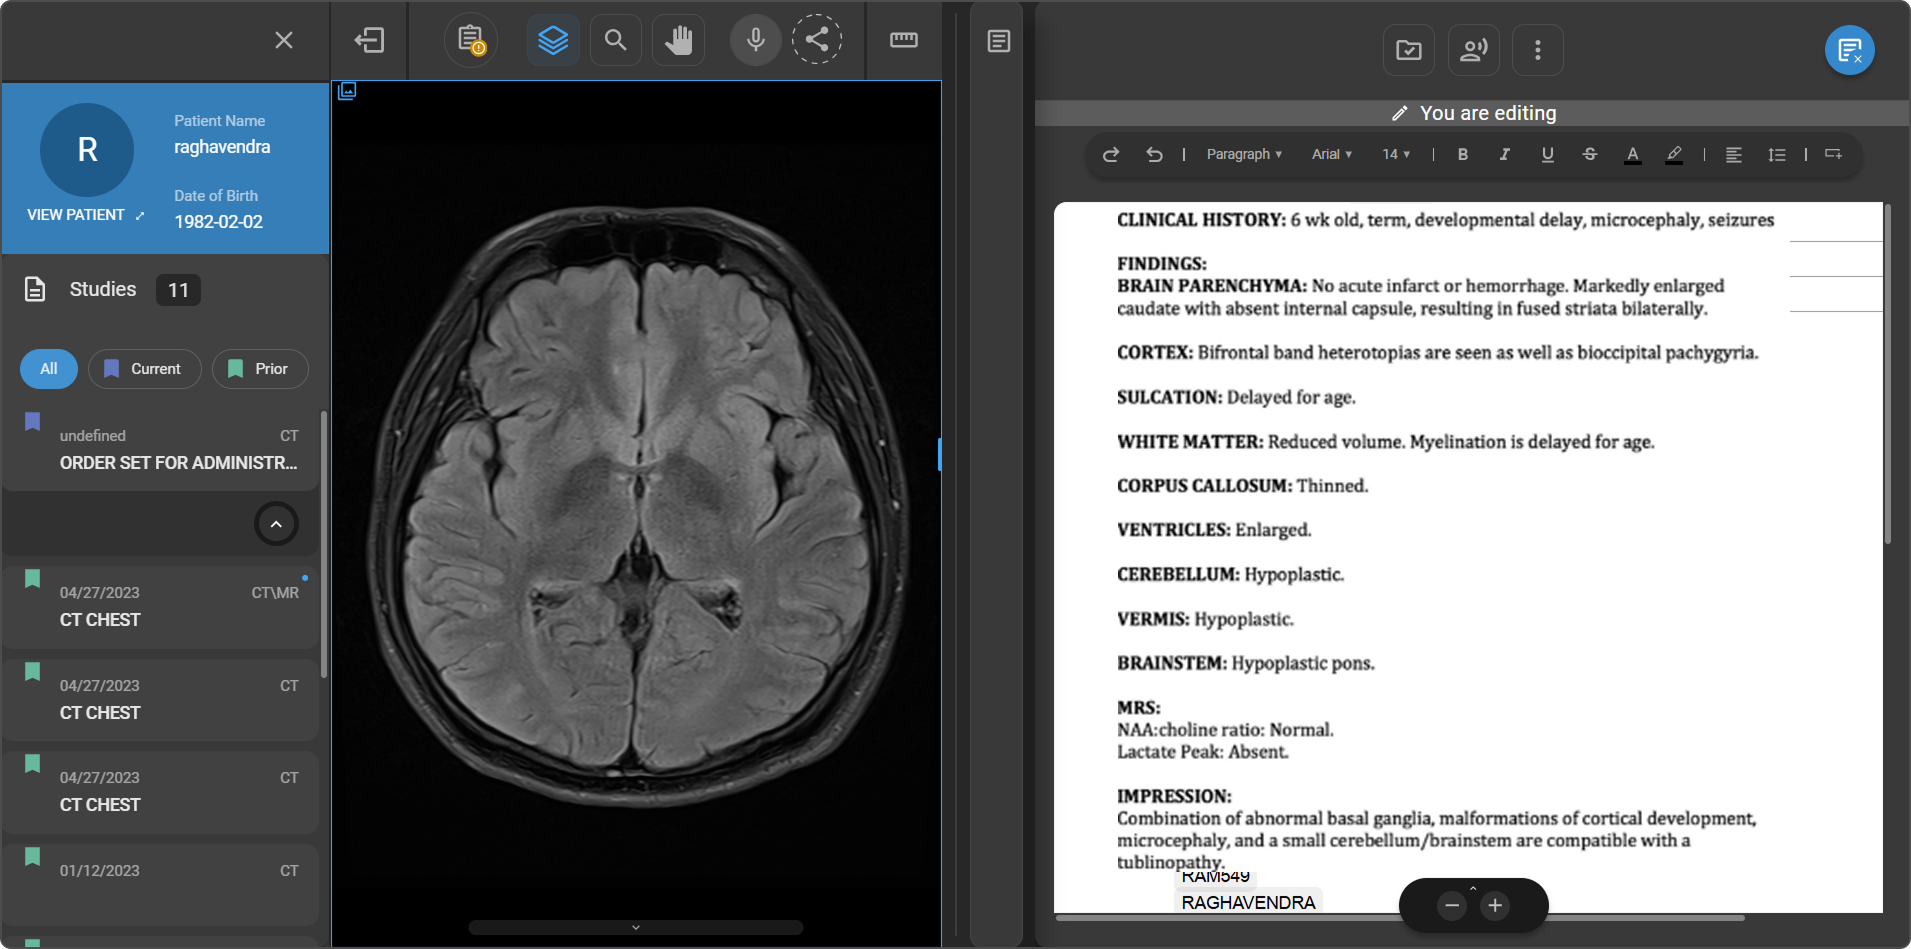
If a final report already exists for the study, it opens automatically. If no final report is available, the system selects the most appropriate template so you can begin immediately.
Document Viewer Tools
AI Summary
Click the AI Summary icon (✦) at the top-right corner of the document page to generate an AI-powered summary of the report. The summary opens as a panel above the document, condensing key findings into a concise paragraph.
The AI Report Summary includes a disclaimer: "The AI technology serves as an analytical aid; the ultimate responsibility for patient diagnosis and care lies with licensed healthcare providers who must interpret and validate any AI-generated reports." Click Detailed disclaimer for the full statement.

Text Highlighting
Select any passage of text within the document to see an AI-based description of that section.
Navigational Toolbar
The navigational toolbar is located at the bottom of the Document Viewer panel.
| Option | Description |
|---|---|
| Show Pages | Opens a side panel displaying full-page thumbnail previews — click any thumbnail to navigate directly to that page |
| Download | Downloads the document directly from the viewer |
| Prints the document directly from the viewer (subject to user permissions) | |
| Zoom In / Zoom Out | Adjusts document magnification for readability and detailed review |

Study Explorer
The Study Explorer is available directly within Document Review Mode, giving you access to all studies and documents for the active patient without leaving the viewer.
How to open:
Click the Study Explorer icon (first icon on the left side of the Document Viewer toolbar). The panel opens on the left side of the Document Viewer.

Panel layout
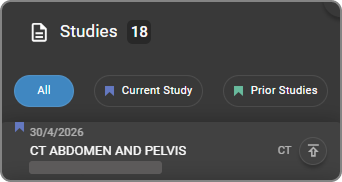
The panel header displays "Studies" with a count badge indicating the number of available studies. Each study card shows the study date, study name, modality tags, and accession number. A + (Add Report) icon appears next to the study header. |
|
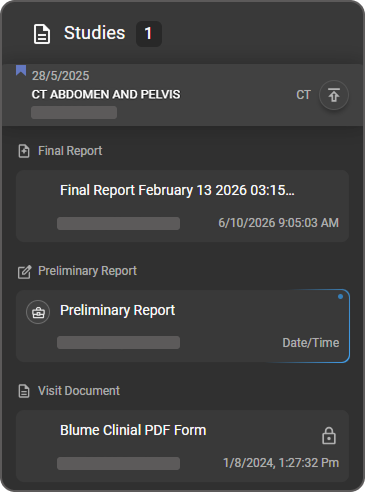
Document Categories
Documents associated with a study are listed below the study card, grouped by type: Preliminary Report, Final Report, and Visit Document. |
|
For full details on document categories, report states, and available actions per category, see Document Explorer.
Managing Documents
Documents can be created, uploaded, renamed, signed, and finalized directly from the Study Explorer panel within Document Review Mode.
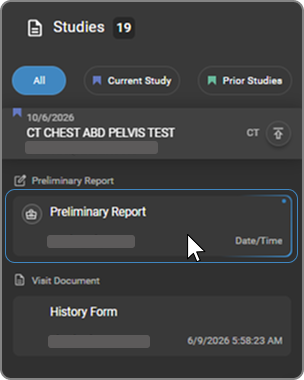
Opening and Editing a Report
|
|
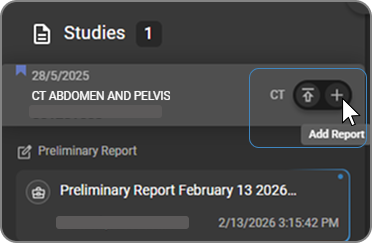
Adding an Additional Report
|
|
For full instructions on signing and finalizing reports, renaming reports, and creating multiple reports, see Working with Reports.
Uploading a Document
|
|
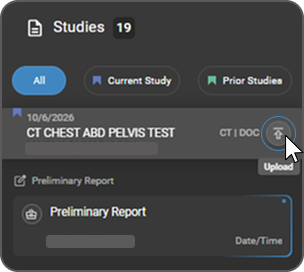
|
|
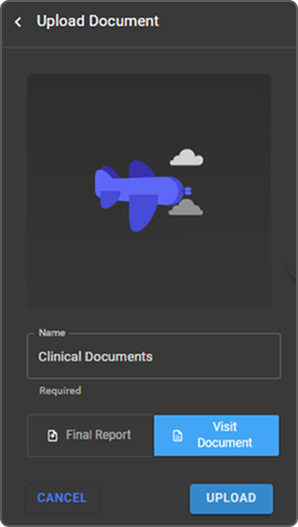
For supported file types, image conversion behavior, and pop-out options, see Uploading a Report or Document.
Closing Document Review Mode
Click the Document Viewer icon in the top-right corner of the toolbar — the same icon used to open the mode — to exit and return to the standard Image Viewer layout.
Related Articles
| Article | Description |
|---|---|
| Embedded Document Viewer (EDV) | Full EDV feature set — version history, peer review, AI transcription, dedicated toolbars, and working with final and preliminary reports |
| Document Explorer | Managing studies, reports, and documents from the Document Explorer panel |
| Document Toolbar | Full reference for the Document Viewer toolbar actions |
| Document Editor | Editing, formatting, signing, and amending reports |
| Voice Recognition and Voice Commands | Hands-free dictation and voice command features |
| AI Transcription | AI-assisted transcription for structured report generation |